Showing posts with label DIY. Show all posts

Friday, July 6, 2012

Gumballs

Hello everyone,

Don't you just love Pinterest? I sure do. It helps get me into the mood, to find my happy place. Some days I know I want to craft something but some times  I haven't got a clue as to what. Then, BANG! Pinterest has some awesome idea that I can not wait to try. There are so many blogs out there that center around making those pins a reality. I just love that!

Any who back on topic. Not to long ago I was on Pinterest(surprise surprise) when I came across a way to make an old style gumball machine from some inexpensive items at your local Walmart or hobby store. I love old time stuff. Naturally I was drawn to this project.

Here is what you will need:
Medium sized clay pot
Small clay disk
1 wooden knob
1 button or bottle cap
Medium sized glass bowl
Hot glue gun
Krazy Glue

Now it's time to assemble. First you may want to paint it. I painted mine a lovely Ivory. Mainly because I already had it at home.  I put it together, embellished with a ribbon,  and wa-la I have my very own old time gumball or candy machine all for under $5.
Isn't it cute? I love that it matches my room perfectly.  Here is one that my friend Jess did. I loved how hers turned out too!
You are getting a double dose today, because yesterday ran right by me and I never got to share a craft with you.  I know you thought I was all done. Well I have just one more quick project to share. This is another great one because it allows you to use all those magazines you have lying around!  Come on I know you have them hiding somewhere in your home. You know I know.
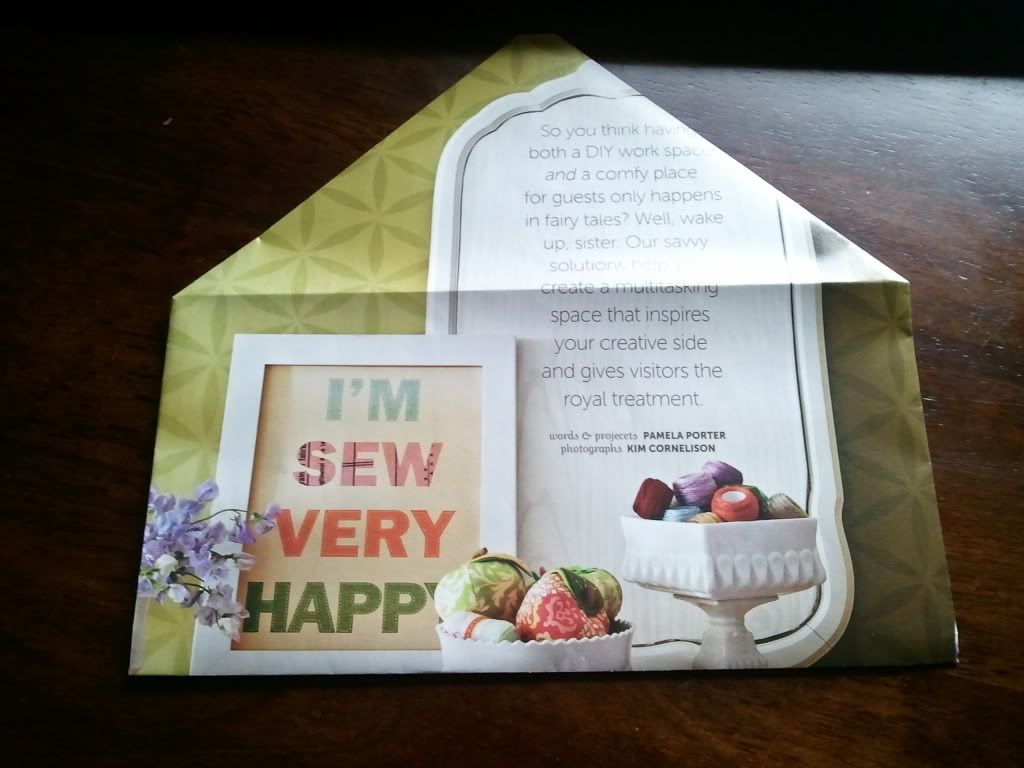
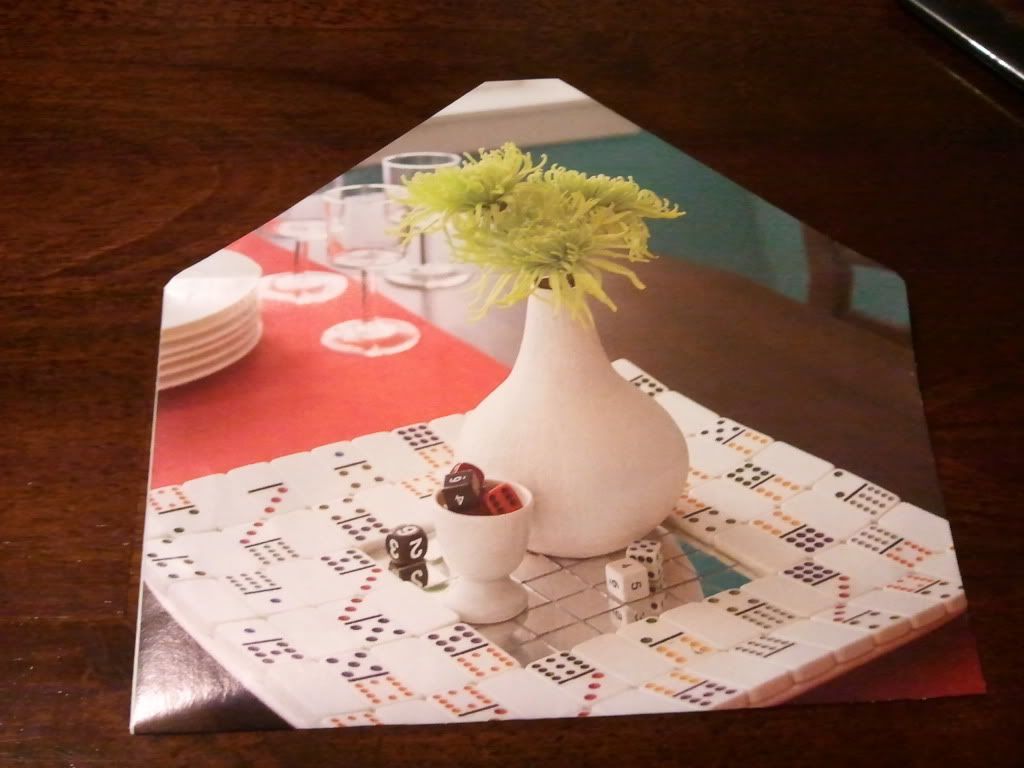
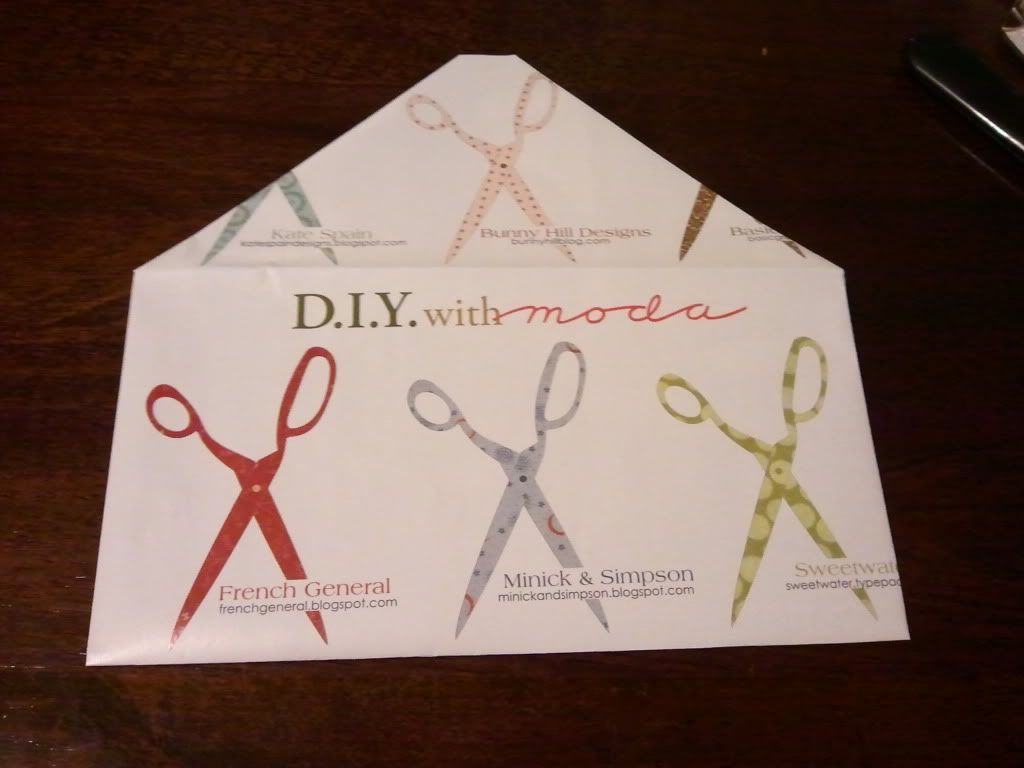
Using fun and colorful pages from all those magazines lying around we are going to make envelopes! Exciting huh? Wait till you see how it easy it is.

Check out this You Tube video that shows just how easy it is to make these! I love it now I don't have to run to the store to get envelopes. I can just make it at home. I love the D.I.Y life!  This wraps up craft week. We started out with Stockholm, then Bookmarks and Hair Pins. Now we have Gumballs.

Have a lovely Friday everyone. I have family coming in to visit me so I am checking out for a couple of days.

Till Next Time,

Tuesday, July 3, 2012

Bookmarks and Hairpins

Hello Everyone,

How is it going with you? Are you as hot as I am?  Let me tell you moving to the North Pole is sounding better and better all the time.

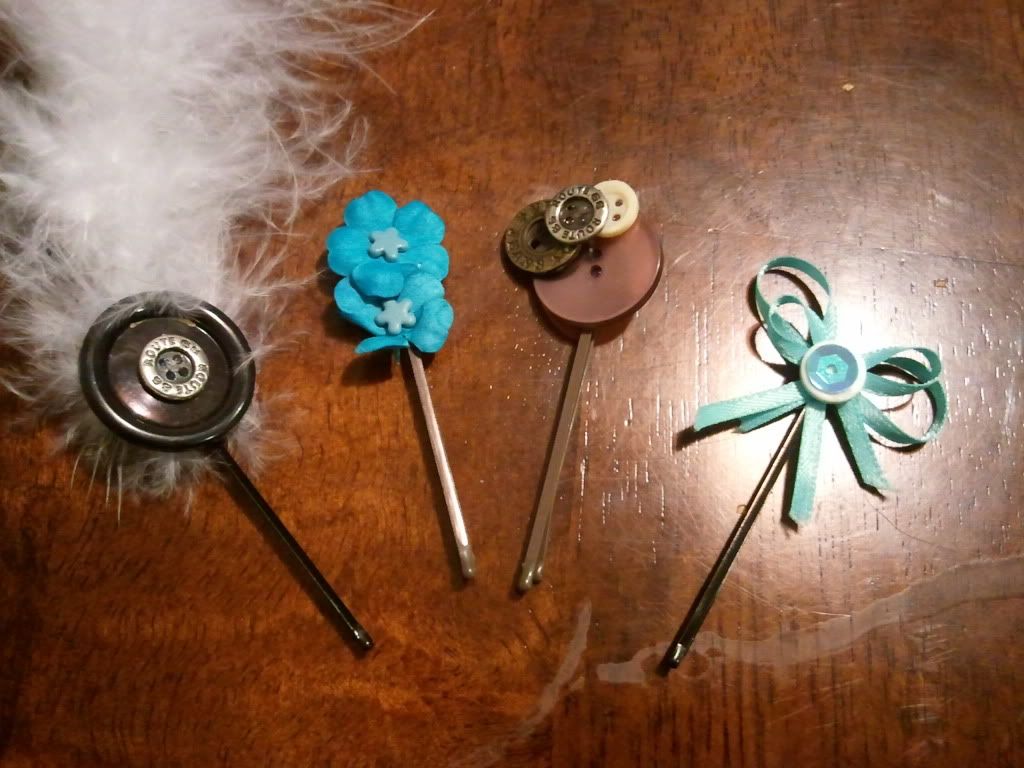
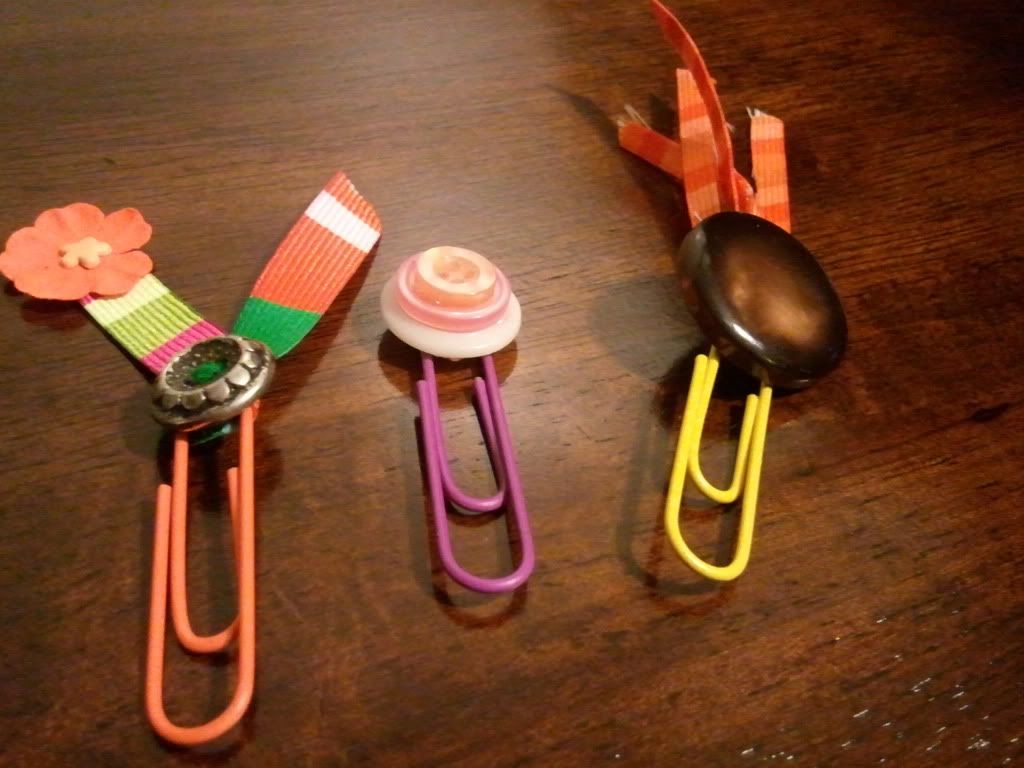
Its craft week during the Bloggy Olympics and Hating Martha has had some lovely crafts thus far. As have the hosts of this week's events, Here's  to Handy Andy , C.W. Frosting, and Freaking Craft. Earlier this week I shared with you my finished Stockholm project.   Tonight I wanted to share with you a fun and quick(you know for those of you who haven't picked up the knitting needles yet...because you will someday, I am sure of it.) project that uses items that most of us have in our home(So its very budget friendly. WIN WIN).  I first found these ideas on Pinterest. And let me tell you its gets addicting.  All you need to make these guys are buttons, ribbon, paper clips, bobby pins, scrap booking add on's and a hot glue gun.
Then just let your creativity run wild. They work up fast, aperfect project if you have kids that are cooped up inside.
Hair Pins
Bookmarks
That's it that is all there is too it! See how easy that was? They make great gifts too! For those times when you're in a pinch and you need to give a gift.

Have a wonderful night.  Till Next Time,

Friday, June 29, 2012

A whole lot of painting goin' on

Hello Everyone!

How has your week been?  I have enjoyed having several days off in a row from work. I have taken advantage of the time to get things done. I was so happy when Paint week happen to coincide with my little down time. Sure made it easier for me to participate!

I love to paint! I love to paint so much that Dear Husband loves to accuse me of wanting to paint everything. I protest! That is not entirely true. I just believe in the power of paint! You can see what paint did for my yarn basket and a few other things here. I can also thank my Grandpa for those painting genes I have. He loves to paint too!  Needless to say you can imagine my excitement when Painting made it as an event on the Bloggy Olympics.  Don't you just love how Gwen's mirrors from The Bold Abode came out?  I do! You really need to check them out if you have not. I am a huge fan of blue so I just swooned when I saw the final result of Gwen's project for this event!

There has been a whole lot of painting goin' on around here. I had originally intended to give this to you in small doses. You know give you something to read about everyday till today with the big reveal. Alas that is not how my life went down, so you get it all in one big swallow!

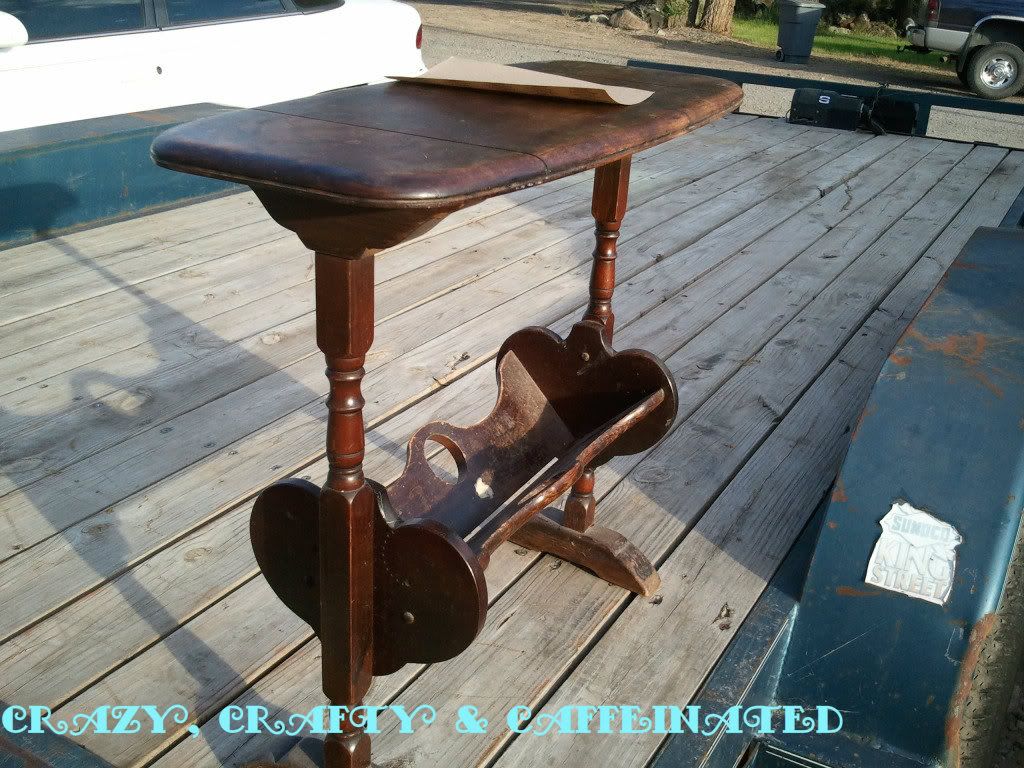
Tuesday afternoon started out with taking this guy out to the front yard...
This is my night stand and it was high time it received a makeover. There were nail polish stains and water rings all over this guy. After a light sanding and dusting I began the make over.
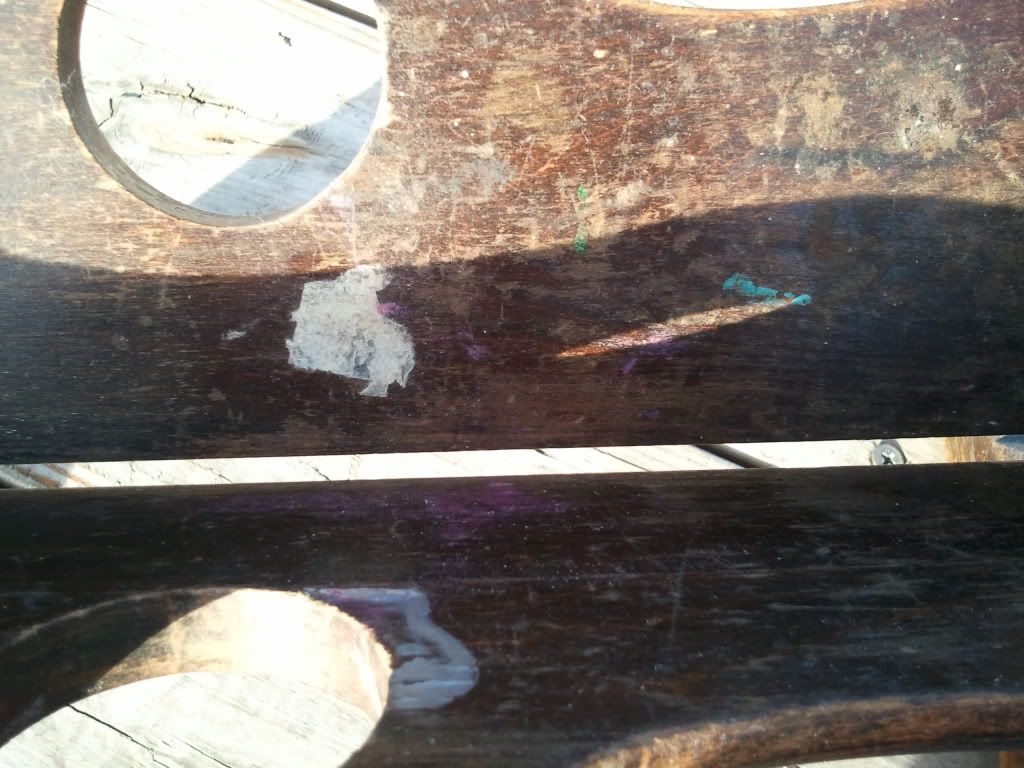
See all that wear and nail polish?

Soon followed some other pieces from the bedroom...


These other wood pieces were going to receive an update using Kylon's Oil Rubbed Bronze spray paint.

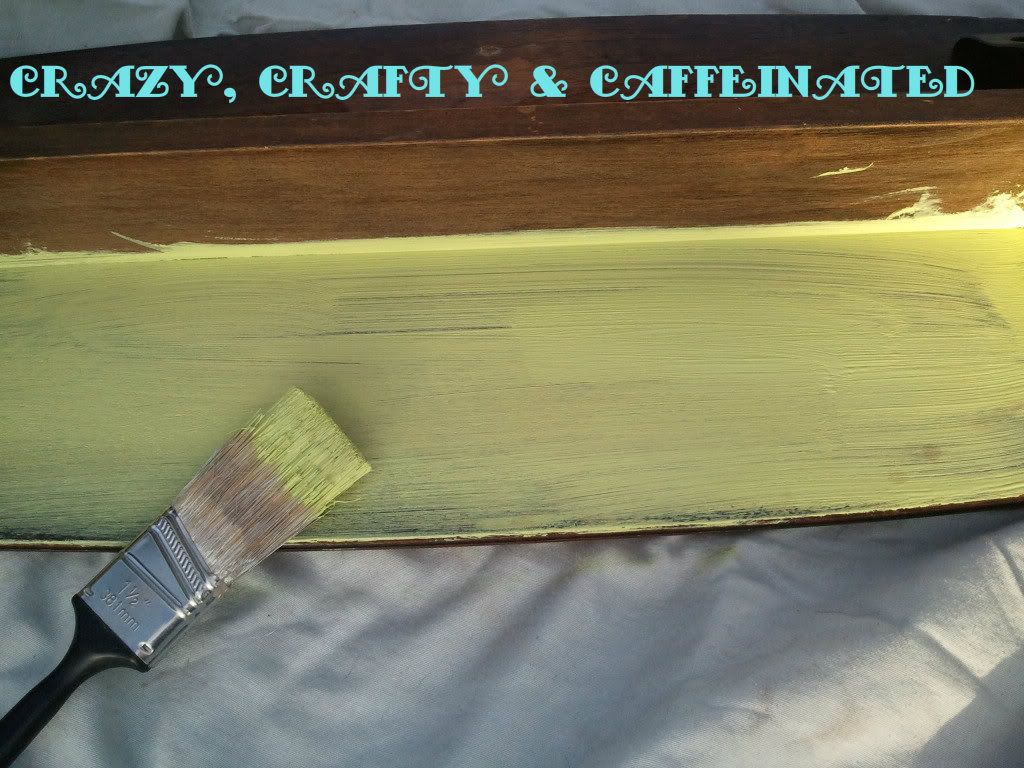
Fast forward to today where the painting frenzy continued. I couldn't help my self. What started out at updating and making over my night stand turned into my opening this guy that I have had sitting in my closet since December.

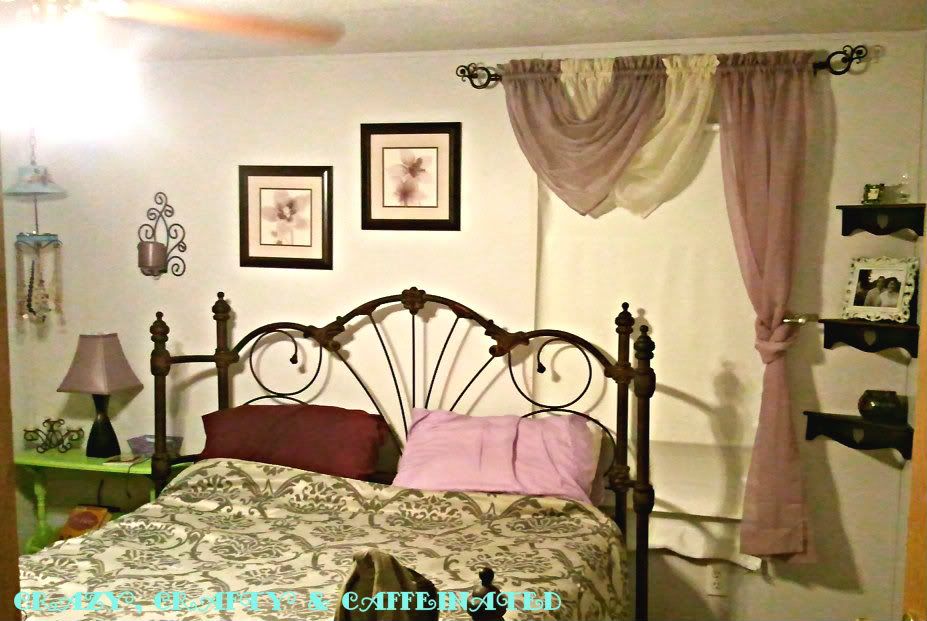
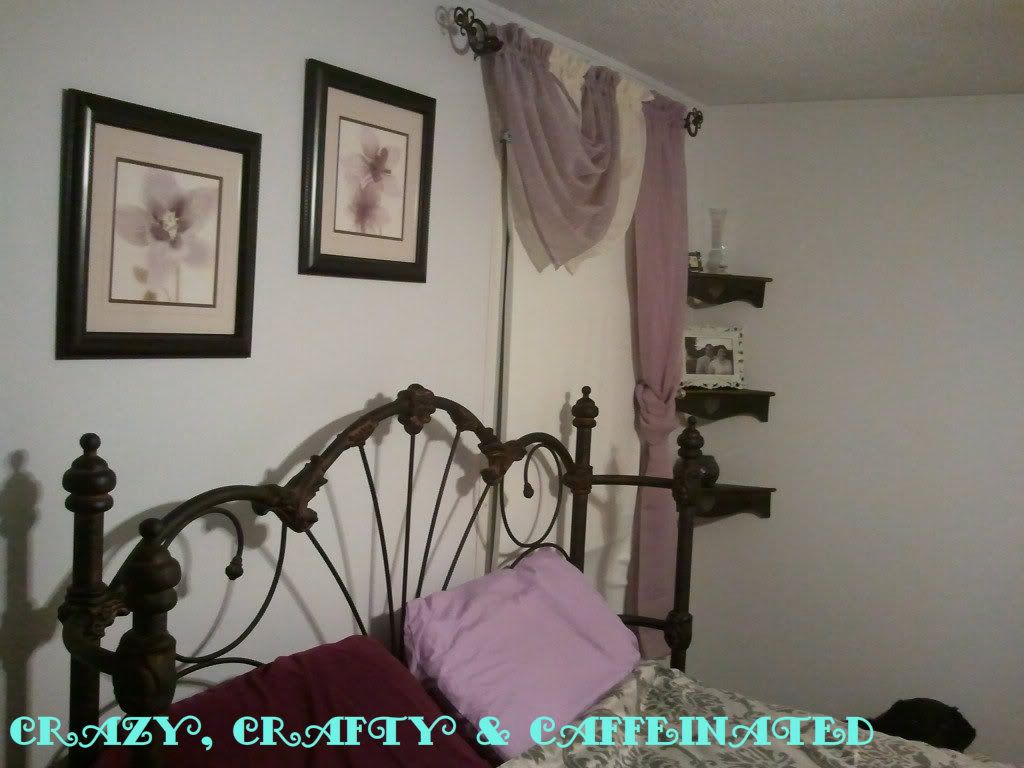
Can you see where this is all headed? Eight hours later, and after much sweat and blood(yes I managed to nick myself in this process. I will spare you the horror and not show you that picture), I have my completed Master Bedroom!
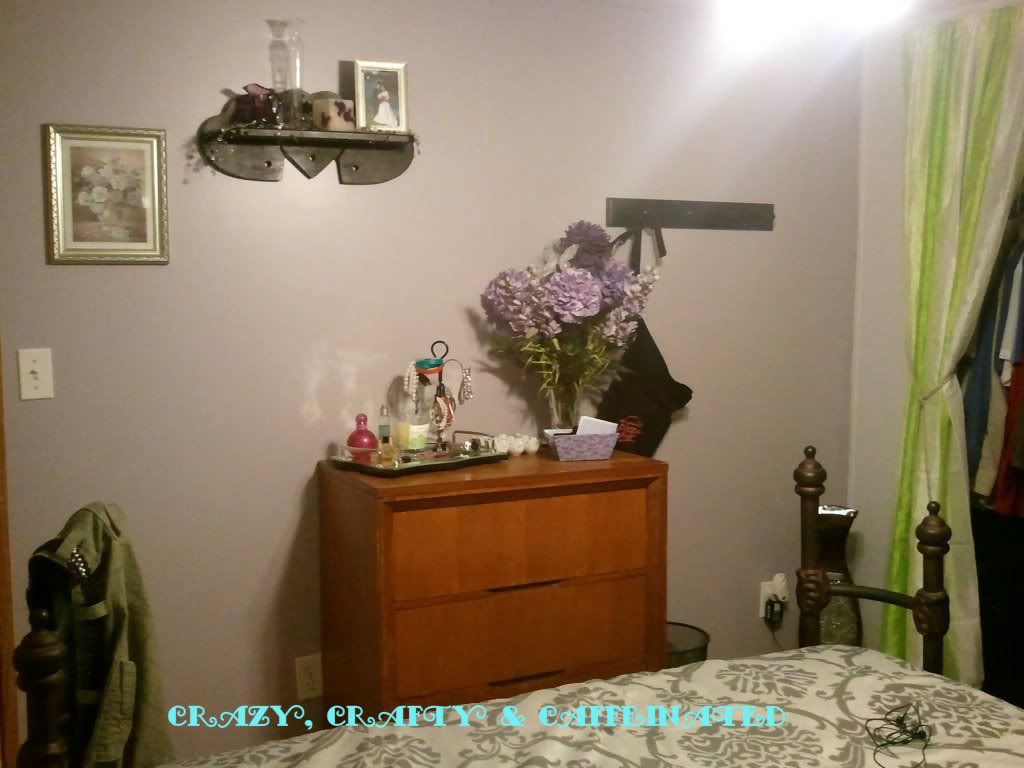
Sorry about the photos being taken at night with the light but it  was the only what to get this done on time.
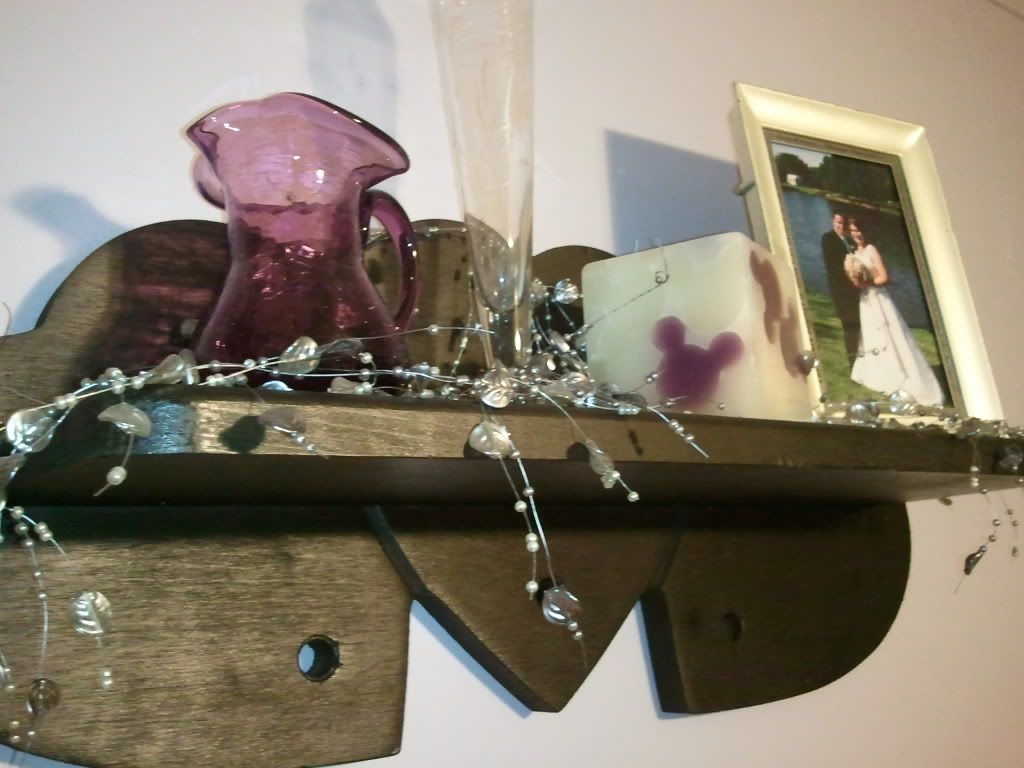
I just love how it looks!!! Don't you? Its so fresh and crisp. But calm and relaxing too!  I have a very light lilac color on three of the four walls and on the ceiling. Then I mixed a grey that I had with a slightly darker purple than the Lilac to achieve the look on the wall above where our dresser sits.  Remember that wooden heart shaped shelf from above? Now it looks like this...
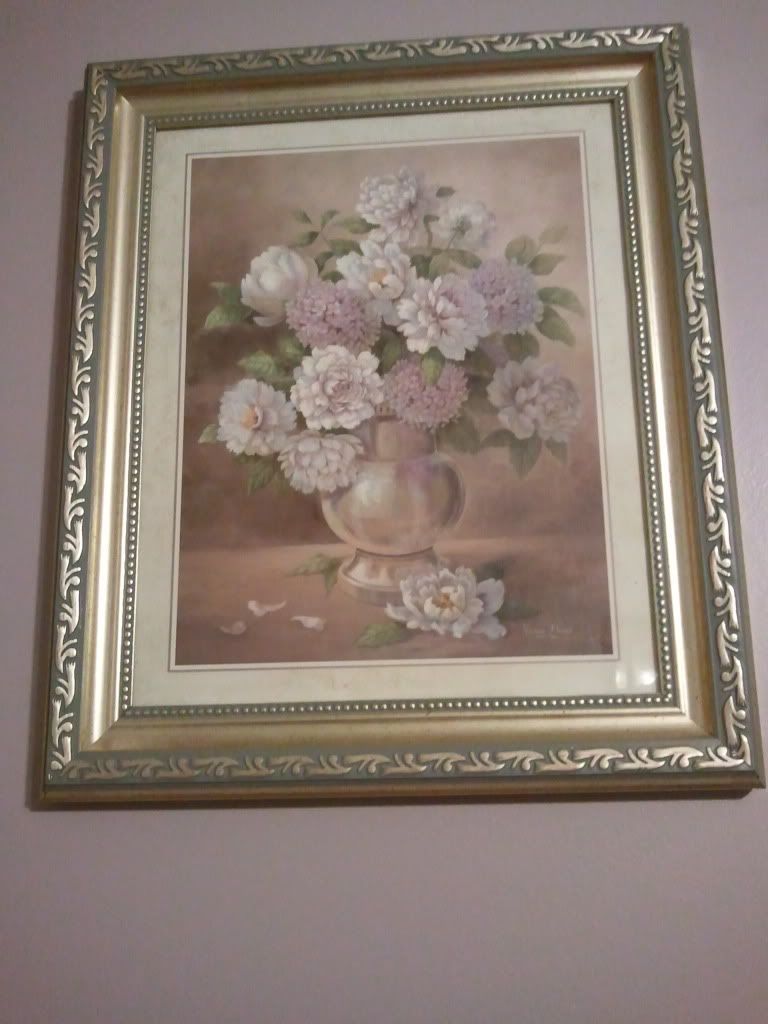
I love how the purple on the walls matches this picture so perfectly.
The corner shelves came out great and and they tie in with the bed and the art work so well( that was now accident. I admit I planned for that to happen). I bought a new curtain rod for the curtains to tie everything in.  And now for my pop of color! The thing that makes me smile when I walk into the room...here is what started the whole thing.
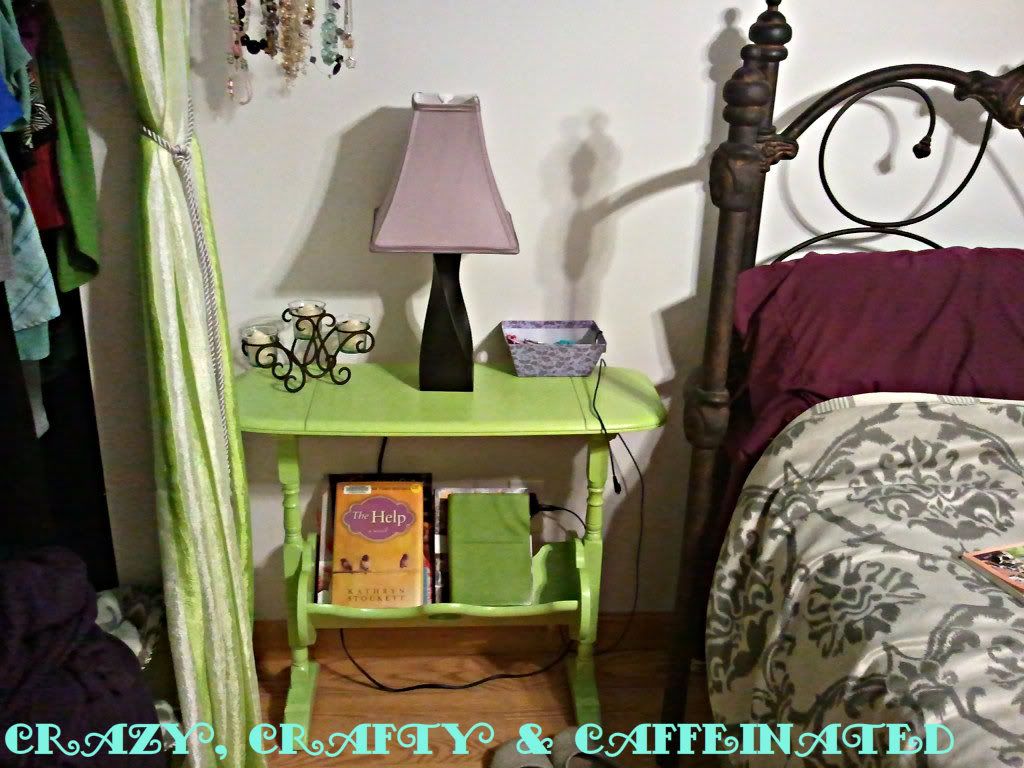
The nightstand, in all its radiant glory. Its turned out great! Its the perfect touch to compliment the curtains on the closet. You may remember my adding them not to long ago, you can read about that here, and get a sense of what the room looked like before.
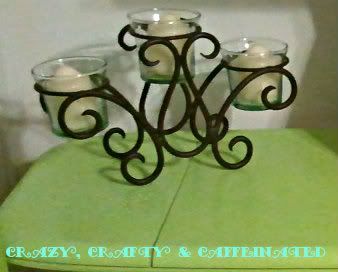
I love that my candle holder is so much more noticeable on the green table now!  So there you have it.  That is my painting adventure for this event. I am so happy to have the bedroom done and finally decorated just the way I want it. I am so ready for the next event which is coming up on Saturday. And you know its right up my alley since the event is Crafts. Hmmm...what Crazy, Craftiness will I be up to? You will just have to stop by and see!

Till Next Time,


Friday, June 15, 2012

Enter as Guests...Leave as Friends

Hello Everyone!

Its time for the Bloggy Olympics link up! I loved all the posts on Hating Martha this week. They were all wonderful.  I am so excited to be sharing with you my little project! It was a super simple project, but it made a HUGE impact!
BEFORE
This has been a space in my home that has had me at a stand still for a while. The picture is a little old, taken when we first moved in. But other than the boxes having been moved out of the way it still looked the same. As you can see that wall and window are completely blank! No I haven't been trying to go for the minimalist look, I just didn't know what to do with the space!  I love the sun light that streams in thru that window all through out the day and I did not want to short myself of that by placing a heavy curtain over it. I was hoping a smaller curtain would be OK. However the window is a funny size and has a funny placement on the wall. Well I think its funny.  However this week I found just the cure for this space.
AFTER

I just LOVE how this all turned out! It came together so nicely! And best of all it only cost me $2 to make! I know "Shut the front door!" Right?  The Welcome Sign is all DIY design. That only cost me a $1, the other $1 came from buying the curtain rod brackets to hang the curtain with.

How did this marvelous sign come to be?  I took this board I had lying around my house(I knew I would need it some day!)
I sanded the board a bit and then cleaned it off. I proceeded to paint it with the lovely little sample bottle of paint, called Turquoise Bay(picked up the little guy at ACE Hardware for under $5), that I had among my stash. Then I pulled out the Decor Sticker I picked up at the Dollar Tree for...you guessed it a dollar, and applied it to the board.
I glued the ribbon to the back of the board to hang it with. Krazy glue works great as would hot glue. I had that in among my craft supplies!  See now wasn't that simple?  I really am thrilled with the results. Let's take one last look shall we??
Now I have a warm and welcoming window treatment over my dinning room table. I still get all the light that I want and a huge smile on my face every time I walk into the room. That's a double win if you ask me! Have you done any DIY projects that have left crafty shivers up your spine? Or tingled all the way down to your toes?  I would love to hear all about them! Have a happy Friday!

Photobucket
Till Next Time,
Amanda